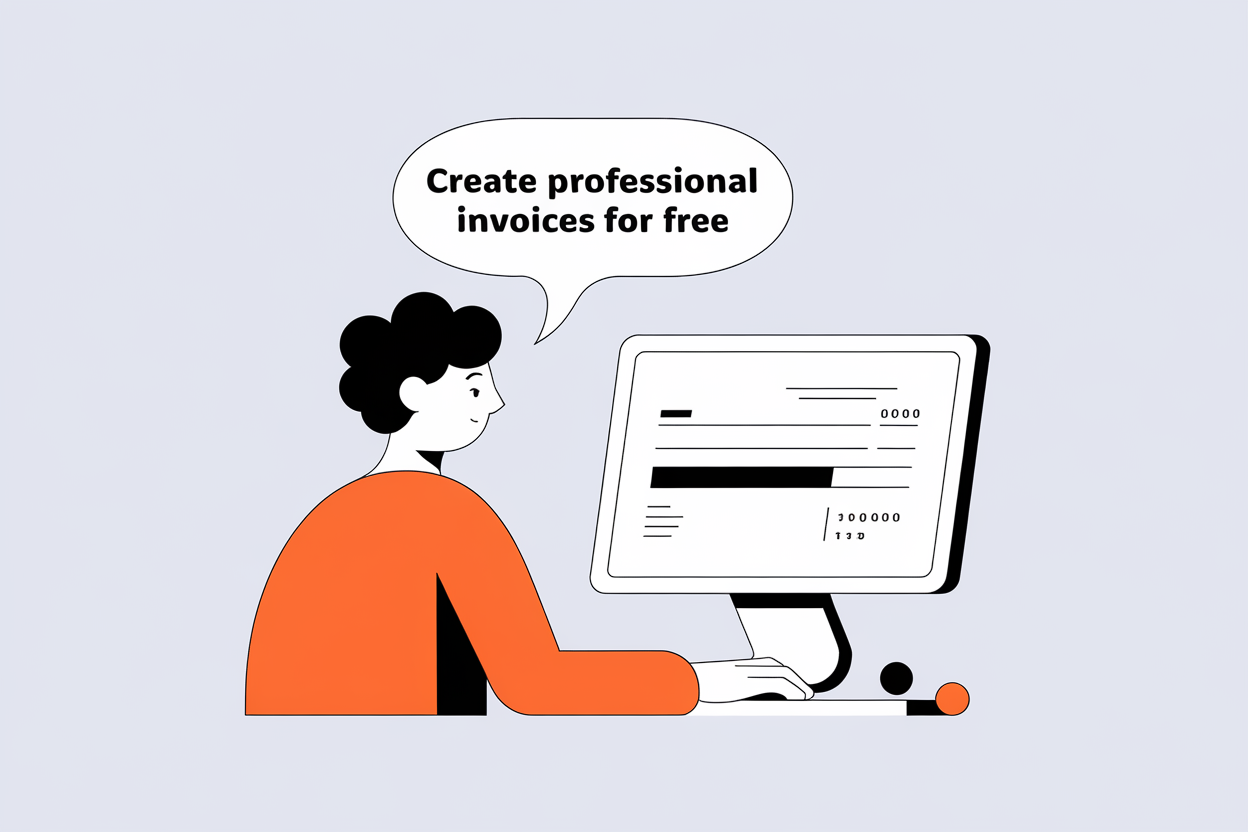
Creating professional invoices doesn't have to be complicated or expensive. With InvoiceGen's free invoice generator, you can create polished, professional invoices in minutes without any signup or hidden costs. This complete guide will walk you through everything you need to know.
Step 1: Choose Your Template
Start by selecting from our 33 professional invoice templates. Each template is designed for different industries and styles:
- Modern Templates: Clean, contemporary designs perfect for tech companies and startups
- Classic Templates: Traditional, professional layouts ideal for established businesses
- Creative Templates: Unique designs for creative agencies and freelancers
Tip: You can switch templates anytime during the creation process. The live preview updates instantly so you can see how your invoice looks.
Step 2: Add Your Business Information
Fill in your company details in the "Your Business" section:
Step 3: Enter Client Details
Add your client's information in the "Client Details" section. Include:
- Client name or company name (required)
- Email address for sending the invoice
- Phone number and billing address
Step 4: Add Invoice Details
Fill in the essential invoice information:
Invoice Number
Create a unique invoice number (e.g., INV-2024-001) for tracking purposes.
Invoice Date
The date the invoice is issued. Usually today's date.
Due Date
When payment is expected. Common terms are 15, 30, or 60 days.
Currency
Select from 55+ currencies including USD, EUR, GBP, and more.
Step 5: Add Line Items
Add the products or services you're invoicing for:
- Description: Clearly describe each item or service
- Quantity: Number of units or hours
- Rate: Price per unit or hourly rate
- Amount: Automatically calculated (Quantity × Rate)
Pro Tip: You can add multiple line items and duplicate existing items with one click. All calculations are done automatically!
Step 6: Customize Your Invoice
Make your invoice unique with customization options:
Choose Your Font
Select from 24+ professional fonts including modern sans-serif, classic serif, and monospace options. The font you choose will be applied to the entire invoice.
Add Tax and Discounts
Configure tax rates and discounts in the "Financial Settings" section. All totals are calculated automatically.
Add Notes and Terms
Include payment terms, thank you messages, or any additional information your client needs to know.
Step 7: Preview and Download
Use the live preview to see exactly how your invoice will look. Once you're satisfied:
- Click the "Download PDF" button
- Your invoice will be generated instantly
- Save and send to your client
Keyboard Shortcut: Press Ctrl+Enter (Cmd+Enter on Mac) to quickly download your PDF invoice.
Best Practices for Professional Invoices
1. Use Clear Descriptions
Be specific about what you're charging for. Vague descriptions can lead to payment delays.
2. Set Clear Payment Terms
Clearly state when payment is due and what payment methods you accept.
3. Include All Required Information
Make sure your invoice includes invoice number, dates, itemized services, and totals.
4. Brand Your Invoices
Add your logo and use consistent fonts and colors to reinforce your brand identity.
Ready to Create Your First Invoice?
Start creating professional invoices in seconds. No signup required. Always free.
Conclusion
Creating professional invoices doesn't have to be complicated or expensive. With InvoiceGen's free invoice generator, you can create polished invoices in minutes. Remember to include all necessary information, use clear descriptions, and brand your invoices consistently. Start creating your professional invoices today - it's completely free!